


NotebookLM for students now means studying with Gemini Notebook, Google's renamed research tool. Add permitted course materials, ask a focused question, open its cited passage, then test what you can explain without the answer. This routine works for lecture review, research papers and exam prep.
Google renamed NotebookLM to Gemini Notebook while keeping it a standalone product. Your study notebook does not become a different tool because of the new name. Use the general NotebookLM guide for setup and the limitations guide for current quotas and exports.

Ask Atlas about a course reading
Add a reading PDF, ask a study question, and inspect cited passages.
What Is Gemini Notebook?
Gemini Notebook, formerly NotebookLM, lets you ask questions about sources you add. It can read PDFs, Google Docs and Slides, web pages, public YouTube transcripts, and audio files. For the steps from a research question to a source check, see the student's guide to AI research.
For students, that means you can ask about class slides, book chapters and papers, then check the answer against the course text.
What you need: A Google account with access and course files you have permission to upload. Your school may set its own rules and limits. Check those rules before adding class files.
Choose Sources for Your Study Question
Organize a notebook around the question you want to study. One course, paper, or exam unit often gives you a useful starting set. A biology chapter, chemistry lecture, and anatomy paper can also sit in one notebook if you are allowed to upload them. Google's source guidance explains how to add multiple sources and select which ones a question should use.
Use this check before moving your study files:
- Identify the exact files needed for the question, even if they come from different courses.
- Add those permitted files to a notebook in Gemini Notebook and select the relevant sources.
- Ask: "How do these files explain protein function?" and inspect the cited passages.
- Keep using that notebook if its answers and study outputs suit the assignment.
- Consider Atlas when you want to bring a PDF paragraph into chat and keep highlights or annotations on the paper while you study.
| Study job | Better first tool | Why |
|---|---|---|
| Discuss a PDF paragraph and annotate it | Atlas | Paragraph-to-chat actions and PDF annotations keep the question beside the passage. |
| Review one lecture deck before class | Gemini Notebook | The source set is small and easy to verify. |
| Ask questions about one assigned paper | Gemini Notebook | One notebook keeps citations focused. |
| Connect biology, chemistry, and anatomy sources | Gemini Notebook | Add the permitted files to one notebook and select them together. |
Table 1: Choose the study tool according to the reading task and the sources you need.
Prepare Your Course Materials
Use files you are allowed to upload and group them by study question. A focused set makes it easier to compare cited passages with the assigned readings.
Step 1: Choose a Notebook
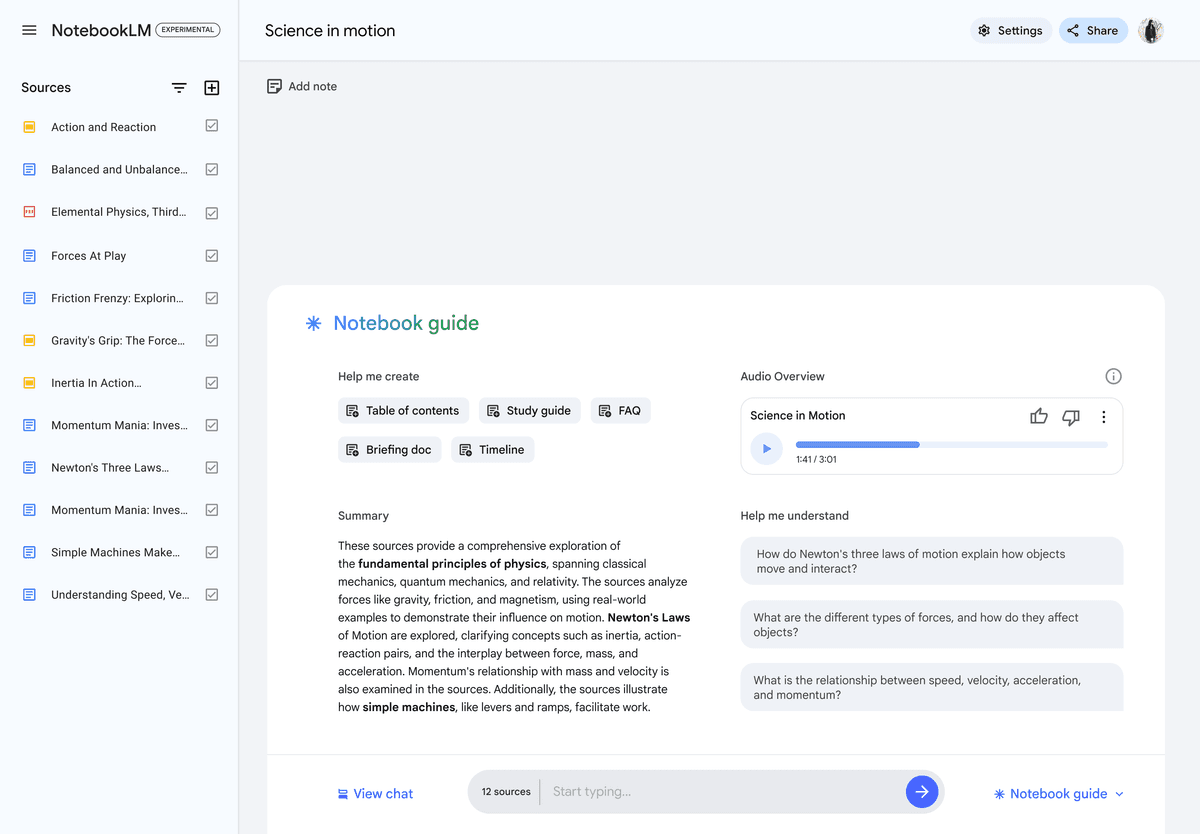
Start with one notebook per course when you mainly study each class separately. For a shared topic or assignment, create a notebook with the relevant files from several courses. Before you upload, gather:
- Slides or notes from class.
- PDFs for readings you are allowed to use.
- Links to course pages or lecture videos.
- Your exam topics or essay prompt.
Name each file by its course and week before upload. Use labels such as "Week 3 slides" or "Midterm reading 2." Google's source guide also lists Word documents, PowerPoint files, images, and eligible purchased Google Play Books titles. Check the actual imported text before using it to make study questions.
- PSYC 301: slides, textbook chapters, assigned readings
- HIST 450: primary sources, lecture transcripts, course reader PDFs
- CS 200: lecture notes, docs, tutorial PDFs
Step 2: Upload Your Materials
Upload only the files needed for the current course or exam unit. The general NotebookLM guide covers source preparation and current formats. Check Google's source help when a Drive file, website, video, audio recording, or local file does not import as expected.
Step 3: Start Asking Questions
Once your sources are loaded, ask questions like:
- "What are the main theories discussed in weeks 3–5?"
- "Summarize the key arguments in the Smith (2024) reading"
- "How does the concept from lecture 4 relate to the reading from week 2?"
- "What are the differences between qualitative and quantitative methods as discussed in this course?"
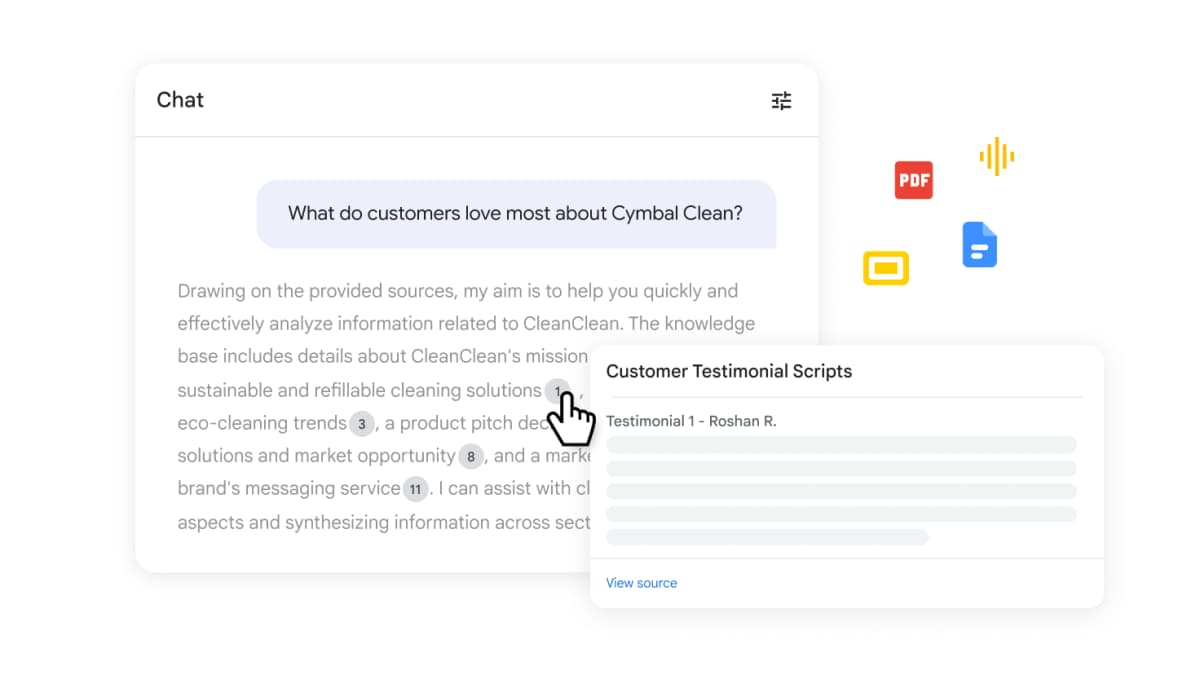
Gemini Notebook can cite its answers to your sources. Open the citation before using the answer. If it does not identify enough supporting text, ask for the relevant source and passage rather than guessing where the claim came from.
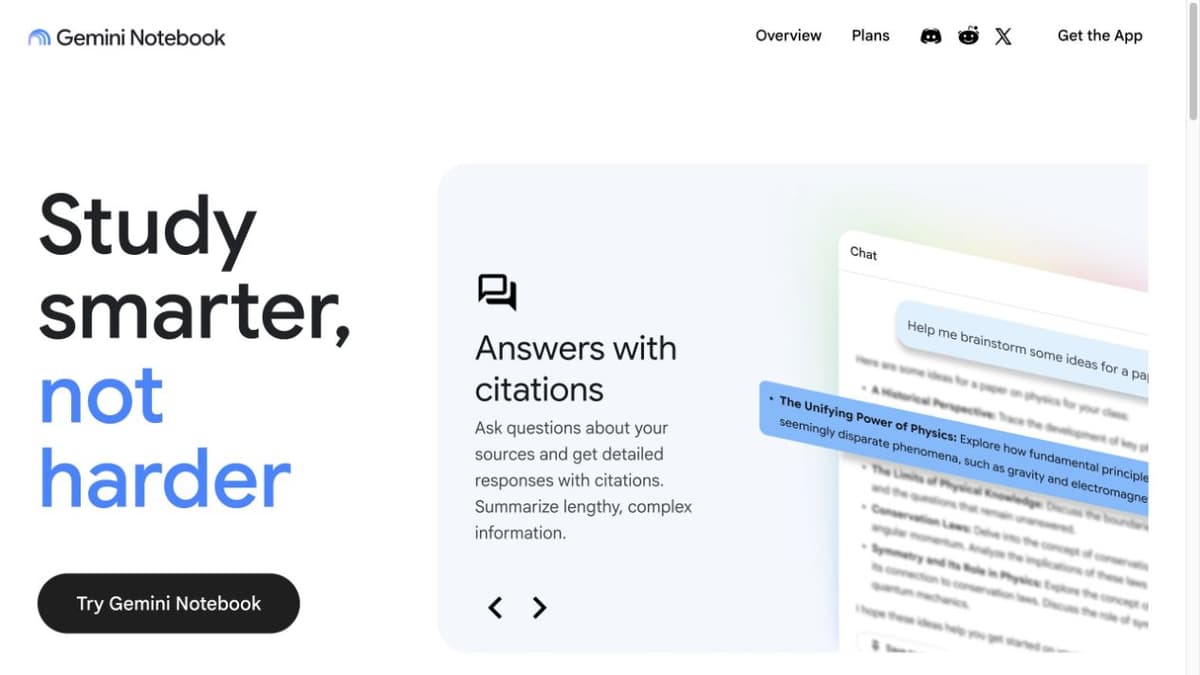
Google’s current public student demo shows a cited answer and highlighted source passage. It illustrates the interface only; open the underlying citation and verify the answer against your own course material. Gemini Notebook for students.
The Source Conflict Drill
When sources disagree, ask Gemini Notebook to show each source's position before combining them. Use this four-step drill:
- Ask for an evidence table with one row per source.
- Add a column for each source's exact claim.
- Add a column for the cited page, slide, or timestamp.
- Write your own conclusion after you inspect the conflicting passages.
This turns a messy answer into a study task you can verify. It is also safer for essays because you can cite the disagreement instead of hiding it.
Privacy and Policy Check
Before uploading class files, check three things:
| Check | What to look for |
|---|---|
| Account owner | A school-managed Google account may follow your institution's Google Workspace settings. |
| File sensitivity | Do not upload private classmate data, clinical notes, unpublished lab data, or anything your syllabus says must stay inside the course system. |
| Assignment rule | Some professors allow AI for study but ban AI-generated submitted prose. Treat those as different uses. |
Table 2: Privacy and academic-policy checks before students add coursework to NotebookLM.
NotebookLM Workflows for Students
Use the same basic process for each study job:
- Create a focused notebook.
- Add the files for that class or task.
- Ask one narrow question.
- Open the cited source.
- Turn the answer into a study card, outline, or follow-up question.
Workflow 1: Lecture Review and Comprehension
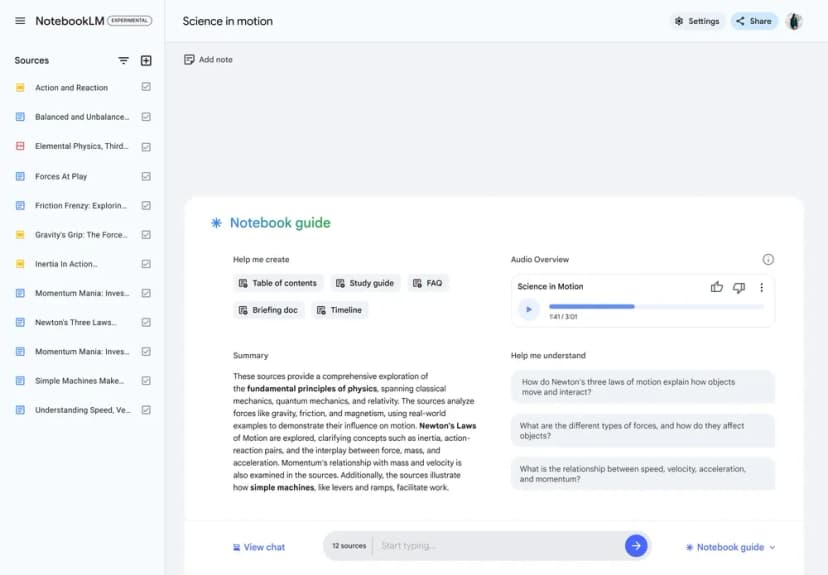
Before class:
- Upload the lecture slides or pre-reading.
- Ask Gemini Notebook to summarize the key concepts.
- Open the cited passages and note questions to bring to class.
After class:
- Upload any additional notes you took.
- Ask clarifying questions about concepts you did not fully grasp.
- Build a study guide, then check its coverage against the lecture topics.
Workflow 2: Research Paper Analysis
When a professor assigns a dense research paper:
- Upload the paper to your course notebook.
- Ask: "What is the main argument of this paper?"
- Ask: "What methodology did the authors use?"
- Ask: "What are the limitations the authors acknowledge?"
- Ask: "How does this paper relate to [concept from lecture]?"
A cited answer can help you find which part of a paper to reread. Check what the authors wrote before using the summary to describe their claim. For more reading tools, see our AI reading assistants comparison and AI tools for academic research.
Workflow 3: Exam Preparation
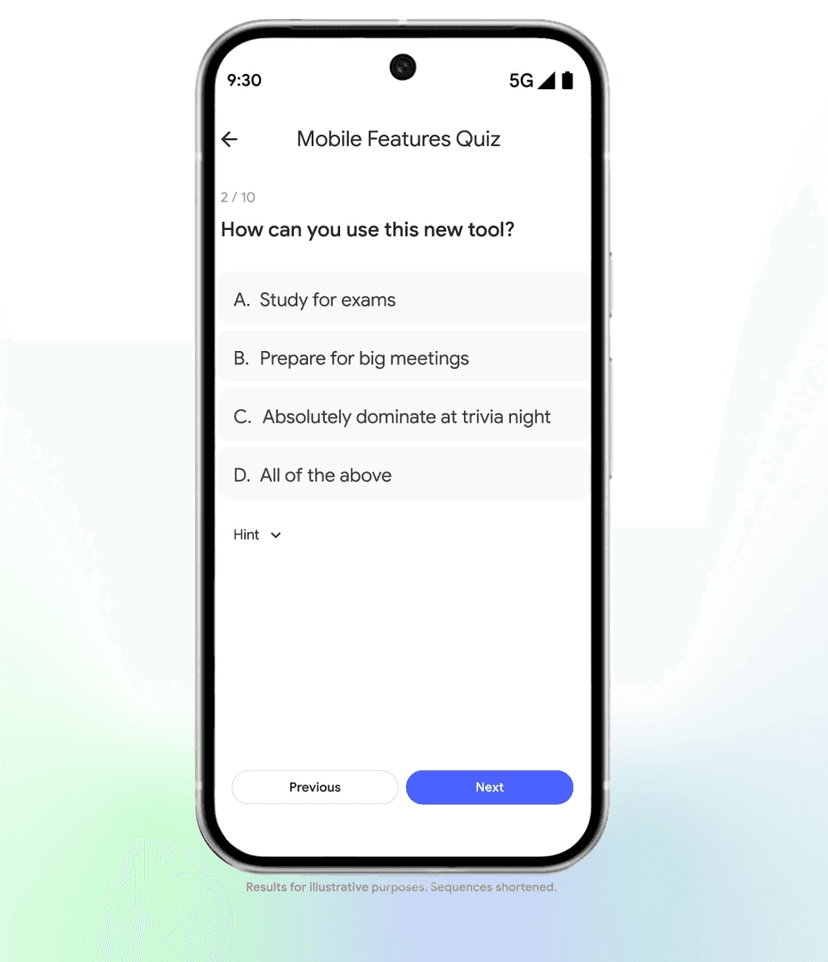
Two weeks before an exam:
- Make sure the relevant materials are in your notebook.
- Ask Gemini Notebook to identify the major themes across the selected sources.
- Generate flashcards or a quiz for each theme, then remove questions whose answers you cannot verify in a cited passage.
- Use an audio overview only after you have checked the text answer and citations.
- Record every missed question, reopen the cited passage, and write the correction in your own words.
For visual study techniques that complement NotebookLM, check out our guide to mind mapping for exam prep.
Build and Check a Practice Set
Google's learning-feature guide explains flashcards, quizzes, and Learning Guide. Use the available study controls in your account to turn selected material into practice:
- Select the sources for one learning goal, such as explaining enzyme inhibition.
- Open the Studio panel, choose Flashcards or Quizzes, and narrow the topic before generating.
- Check the questions against your syllabus. Remove an item if the answer is unsupported or the wording is ambiguous.
- Attempt each question before revealing its answer. Use the explanation to find the supporting source when you miss one.
- Close the generated set and explain a new example in your own words. Reopen the course material to check your explanation.
Keep a short error note with the concept, the mistake you made and the corrected explanation. A high quiz score alone does not show that you can apply a concept to a different question.
Workflow 4: Essay and Assignment Research
When writing an essay:
- Upload all sources you plan to cite.
- Ask: "What do my sources say about [essay topic]?"
- Ask: "Where do these sources agree or disagree?"
- Ask: "What evidence supports [your argument]?"
- Use the cited passages to build your argument with proper citations.
Use Gemini Notebook to inspect the evidence. Write submitted work yourself and follow the assignment's rules for AI assistance and disclosure.
Student Account and Upgrade Matrix
Gemini Notebook can use eligible personal or school accounts. Check who controls the account before you add class files. School access and paid offers vary, so confirm your institution's provision before buying an upgrade.
| Student situation | Gemini Notebook path | What to check before uploading |
|---|---|---|
| Personal study with ordinary class materials | Use the Gemini Notebook student page. | Choose a course or topic notebook whose sources you can verify. |
| School-managed Google account | Follow your school's Google Workspace policy. | Your institution may control access, data settings, and approved AI use. |
| Need higher limits or premium features | Review the Gemini Notebook product page before paying. | Check whether your school provides access and which plan applies. |
| Teacher or department workflow | Use Workspace admin guidance for the institution's account settings. | Decide who owns shared notebooks, sources, and generated study materials. |
| Multi-course research archive | Group permitted files around a shared topic in one notebook. | Check source limits, file access, and whether you need PDF annotations or a separate note archive. |
Table 3: Account and upgrade checks before students upload coursework to NotebookLM.
When Atlas Fits After NotebookLM
Atlas is useful when your study session revolves around a passage in a PDF. You can bring that paragraph into chat, inspect a cited explanation, and preserve your reading with highlights or annotations. Our paragraph hover-to-chat comparison records this interaction as part of a five-product paper-reading comparison.
Both products can work with course sources. Compare the actions you need while reading before choosing where to study:
| Feature | Atlas | Gemini Notebook |
|---|---|---|
| Upload lecture materials | Yes | Yes |
| AI chat with sources | Sources in the current project | Selected sources in a notebook |
| Questions across courses | Yes, with the files in one project | Yes, with the files in one notebook |
| Mind maps | Knowledge maps from a source or note | Mind Maps from notebook sources |
| Study notes | Notes alongside sources and chats | Written notes and saved chat responses |
| Paragraph hover-to-chat | Add a PDF paragraph to chat | Criterion unmet in the paper-reading comparison |
| PDF highlights and annotations | Preserve marks and notes on the PDF | Criterion unmet in the paper-reading comparison |
Table 4: The report records a five-product capability comparison. A feature marked unmet refers to the report's reading criteria. Those historical observations do not establish the full current Gemini Notebook feature set, and this refresh includes no new product experiment.
Choose Gemini Notebook when selected files, cited answers and study outputs cover the assignment. It also offers notes that you can write or save from chat, so note-taking alone is not a reason to switch. Choose Atlas when the paragraph-selection and PDF-annotation steps above fit how you read. The student second-brain guide can help you plan where to keep sources and notes across terms.
Example: A Pre-Med Student's Workflow
Consider a pre-med student comparing protein structure in biology, enzyme reactions in chemistry, and a pathway described in an anatomy paper. The student can add the three permitted files to a shared notebook in Gemini Notebook and ask which passages connect those ideas. The student can organize notebooks by course, topic, or assignment.
If the hard part is a paragraph in the anatomy paper, the student can use Atlas to work from that passage:
- Open the PDF and bring the paragraph into chat.
- Ask: "Which part of this explanation depends on protein structure, and why?"
- Open the supporting citation and check the explanation against the paper.
- Highlight the relevant sentence and add a note in your own words.
Atlas can also create mind maps from multiple course sources. NotebookLM has Mind Maps too. Use either map to locate concepts, then return to the cited text before making a claim about how the courses connect.
What Gemini Notebook Does for Students
Gemini Notebook can help you study class files with answers, quizzes and other study aids. When an answer says a point came from a lecture or reading, open the citation and check the text. Use an Audio Overview for review, then read the source for terms or claims you need to use.
Free access matters for students on tight budgets, so start there before paying for a separate study tool. Google Workspace can also cut setup time when your school already uses Docs, Slides, and Drive.
NotebookLM Limits and Source Upkeep
Check Gemini Notebook's limits before a long study session. The NotebookLM limitations guide explains how many files you can add and how much you can ask the tool to do.
Isolated Notebooks
A question needs its sources in the notebook. To compare a statistics reading with a psychology paper, add the files to one topic notebook if you have permission to do so. Keep course names in the source titles so you can trace each answer to the right file.
Source Limits
Each notebook has a source cap. A full term of readings may need several notebooks or a smaller source set for each question. Adding files and generating study outputs are different limits, so deleting sources may not fix a usage message.
Plan Around Compute Limits
Google's flexible usage limits use compute rather than a fixed daily number of each task. Long chats, complex prompts and larger source sets can use more of that allowance. The current usage help explains the five-hour refresh and weekly ceiling for your account.
For an exam session, generate a focused practice set and keep your checked error notes before asking for several new outputs. If your allowance runs out, continue with the saved questions and original course files while waiting for the relevant reset. A source cap and a compute allowance need different fixes.
Prepare Notes Before Uploading
Gemini Notebook lets you write notes, save chat answers and turn notes into sources. Check messy class notes before you use them in a chat. The imported text needs the terms, symbols and labels that your question depends on.
Mind Maps Stay Inside the Notebook
Gemini Notebook includes Mind Maps based on notebook sources. Add the relevant files from each course when you want a map of a shared topic. A map can suggest connections to investigate, but you still need to check what the original passages say.
Maintaining Sources Across Terms
You can revisit a topic notebook across terms. Review its sources when the syllabus or assignment changes, and keep copies of material you are allowed to retain. Google says supported Drive sources sync with their original files. Losing access to a Drive file can make it unavailable in a notebook, so check imported material before relying on last term's study set.
How to Get More from NotebookLM
For more detailed tips, see our guide to using NotebookLM effectively.
-
Ask narrow questions. Instead of "explain this paper," ask "what method did Smith (2024) use?"
-
Upload complete files. The AI can only work with what you give it.
-
Use audio overviews after you read the material once. They work best for review.
-
Create separate notebooks for major assignments. One notebook per essay keeps sources focused.
-
Verify citations. Click through to the source before using an answer.
-
Use active recall. After an AI answer, close the tool and explain the idea yourself.
What to Avoid with NotebookLM
Use Gemini Notebook to study sources, check cited text and make practice questions. Write the work you submit in your own words.
Use it for:
- Asking about assigned readings
- Making study questions for self-tests
- Getting help with confusing ideas
- Making short notes for your own review
Do not use it for:
- Copying AI text into class work
- Replacing the reading
- Asking AI to write essay paragraphs
- Hiding AI use when your school requires disclosure
Check your school's AI rules for both study and submitted work. The free AI tools for students guide explains when to disclose AI use and check sources. Ask your teacher about any use that the course rules do not cover.
What to Do Next
Start with one study goal and the files you have permission to use in Gemini Notebook. Combine files in one notebook when the question spans courses. Check the answer against its citation, then explain the idea without the chat. Consider Atlas when you want to bring a paper passage into chat and keep notes on the PDF. Our guide to academic research software for students compares other reading and research needs.
Ask Atlas about a course reading
Add a reading PDF, ask a study question, and inspect cited passages.